the outcome of an unreal basics workshop i gave in november.
at first glance not too impressive, but it covers plenty of engine systems.
we had an eye on the system design of the lights/flickering lights and the switch interaction to be built fail safe in any case.
this was a nice case to show students, how even simple systems can be full of bugs and open ends, when not designed carefully
things and systems we build:
- import of various resources and naming conventions
- shader creation and material instances
- input events
- light functions and decals
- blueprinting for various systems like:
- lightBP that is able to be turned on and off and to flicker
- blueprint interfaces and simple interact system
- lightswitches, that can trigger custom selected lights
- levelblueprints for events and sequences
- run with "inputevent run (shift)" all with faster animations and speed
- footstepsystem that find different surfece types and select corresponding sounds
- blueprint doors
- mess around with the projectile BP
- a simple flashlight logic in the player BP
- create and particles and control them with BP
- render cinematics and camflights with the sequencer
- audio volumes with reverb
- sound cues
We recently used PhysX Lab in a lecture and found 3 things that helped us.
So perhaps it helps also others when it is written down also in this place.
- To add an extra level of fracture when using a cut out texture you can use this option to have your chunks even more divided. To set the Voronoi settings, go into Voronoi fracture mode. These settings will then also be used by the "interior face noise" of the cutout tool. This info can also be found in the documentation. But since this is the last place you'll look for help, this info might be for you :D
- The vertex density of a cutout seems to be tied to the resolution of the source mask, used for the cutout.
In order to generate a usable mesh create small source masks like 256
- Use *.bmp fileformat for cutout masks. This info is also in the docs.
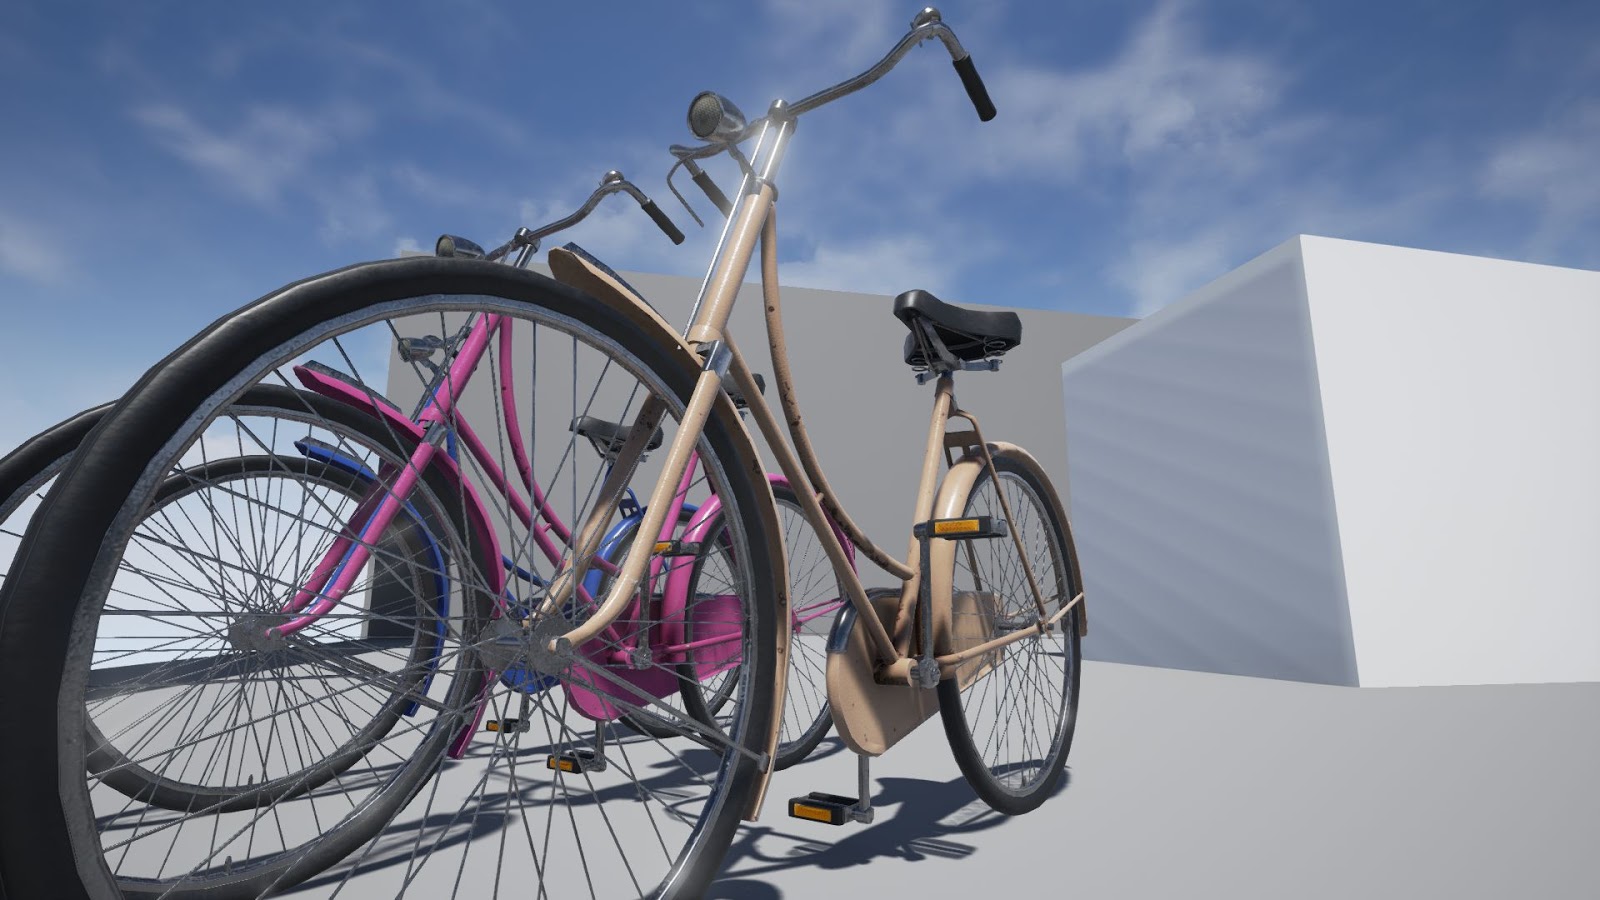
this is only a WIP update on my object pack i plan to release on the marketplace.
and finally have the bicycle textured. highpoly from lowpoly, unwrapping lowpoly, setup for baking all the tings, final baking..all together 8h.substance painter ~0.5h haha
ok, no details yet. but i think they are not needed, since the textures will be a base for later customization.
i pimped the paint can and the bike with physical parts and physical constrain components. the bike still has no texture and the paintcans sound all empty haha unfortunately the projectile won't cause any sound at collision. the objects only play sound, when colliding with other world actors. i yet have to find out why. this is the setup of the blueprint
set the mirror mode to one eyed by entering "HMD mirror mode 2" into the console. no chance to get rid of distortion with the oculus yet though. HTC Vive will display without distortion though
also setting the mirror dimensions in the console with say: "HMD mirror 1280x1024" won't work for me
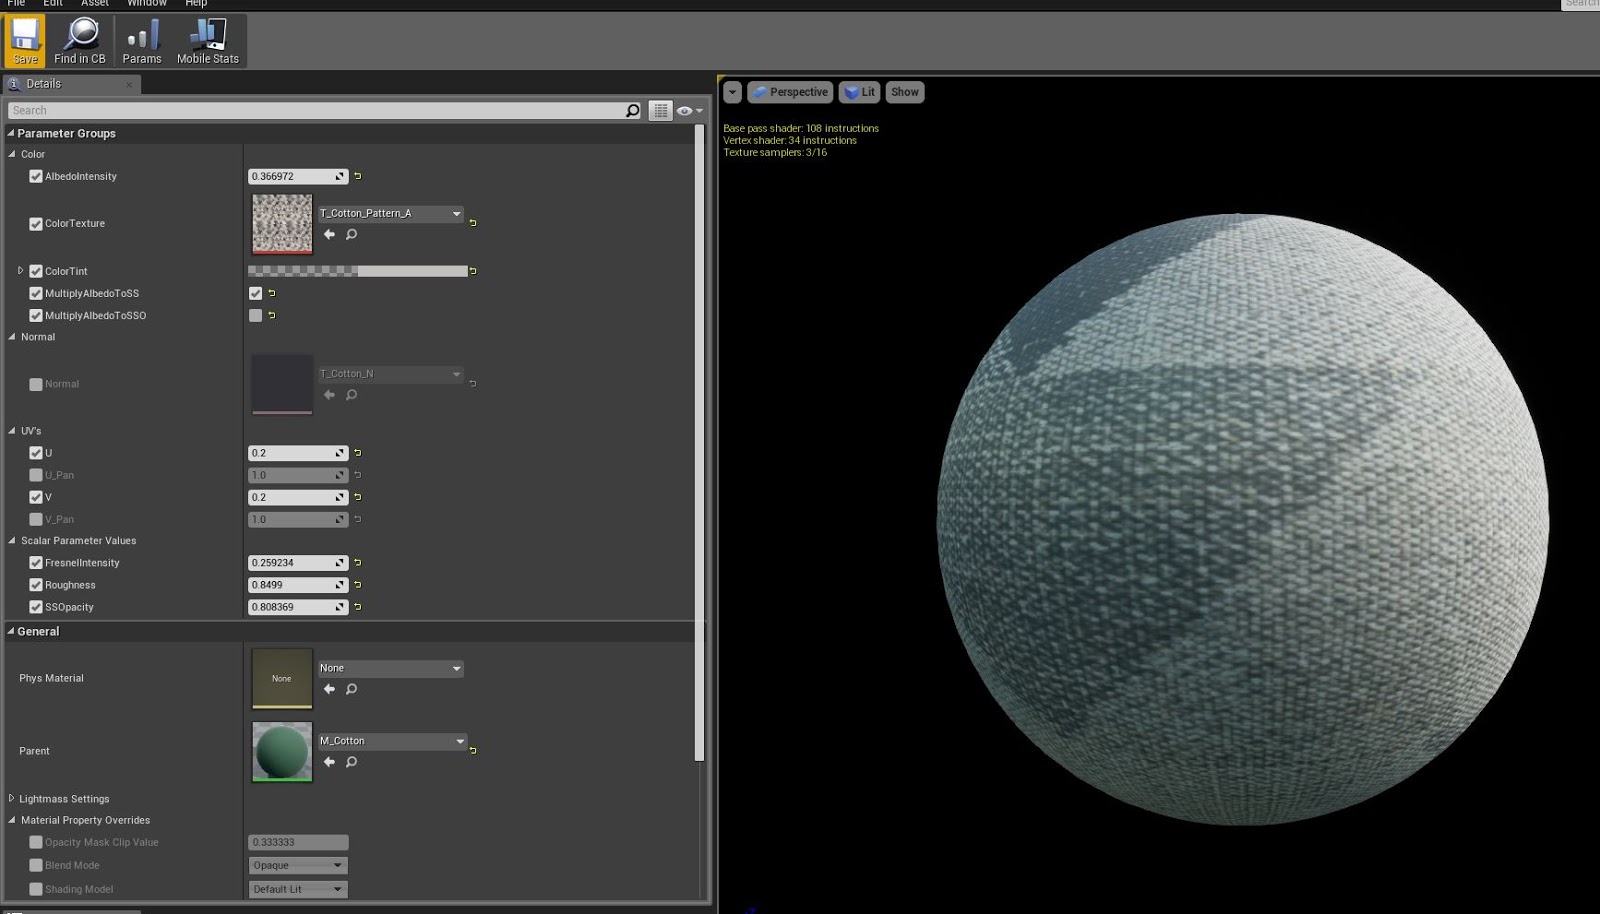
We recently made a pool scene in 3dsmax at SAE Cologne.
we covered lots of stuff, but most importantly the pool shader.
Here are some shots and the setup of the shader.
There was some experimenting with fresnel setting involved, which I wasn't able to understand completely. so excuse any flaws in there.
This day we had a workflow lecture covering asset creation with phtotoshop, 3dsmax and mudbox and also imported the result to unreal engine.
the bake was done in 3dsmax.
we headed for a cross for crucifixion and put it into a scene i made before with another course.
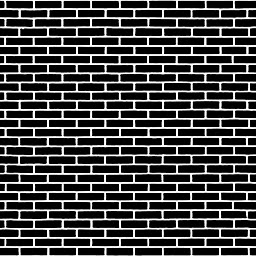
that is a project from a lecture i gave last week at SAE Institute Koeln.
in the lecture we were only able to create and implement the
architecture into UE4 from scratch. to get the wall texture look good,
took some time though.
today i threw some of my old props into, just to show off
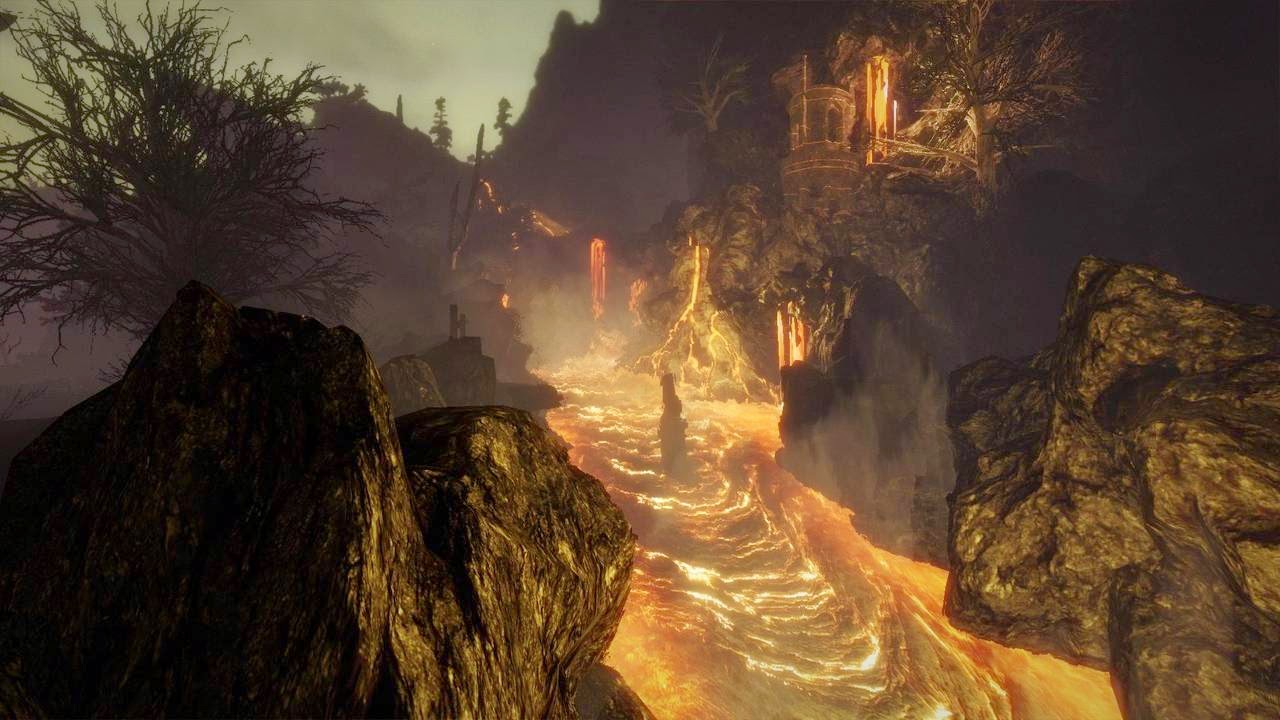
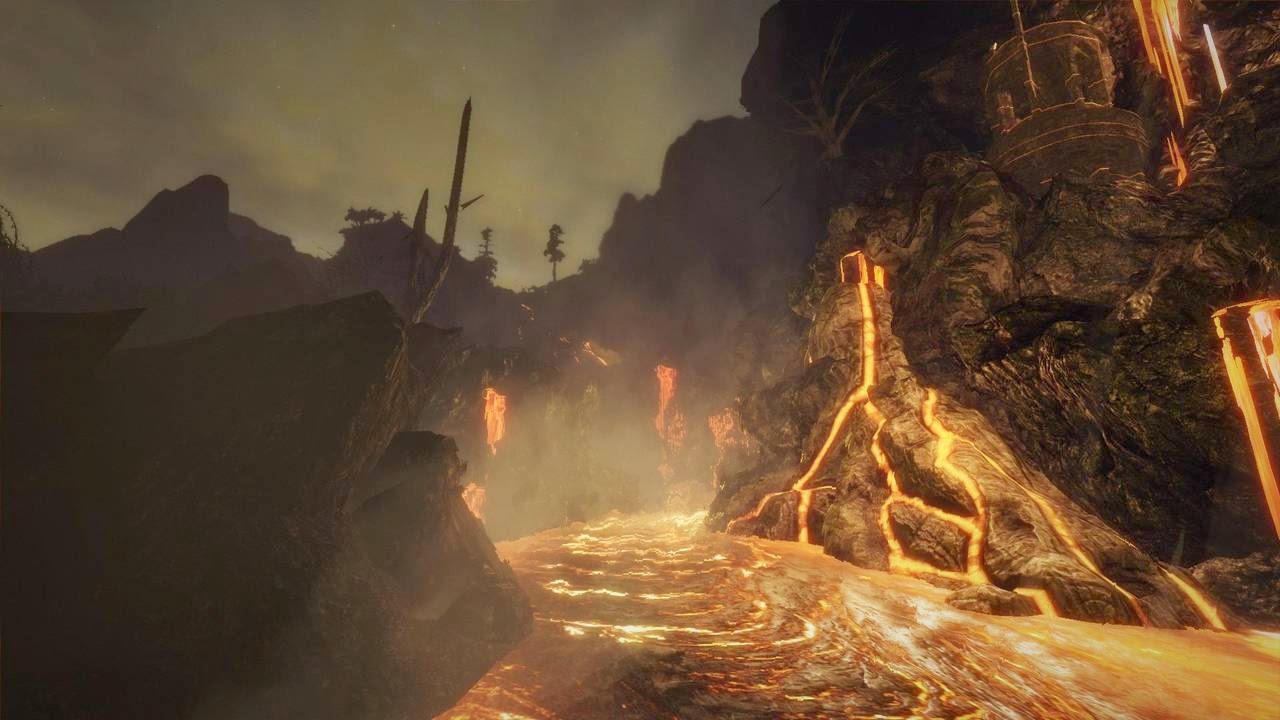
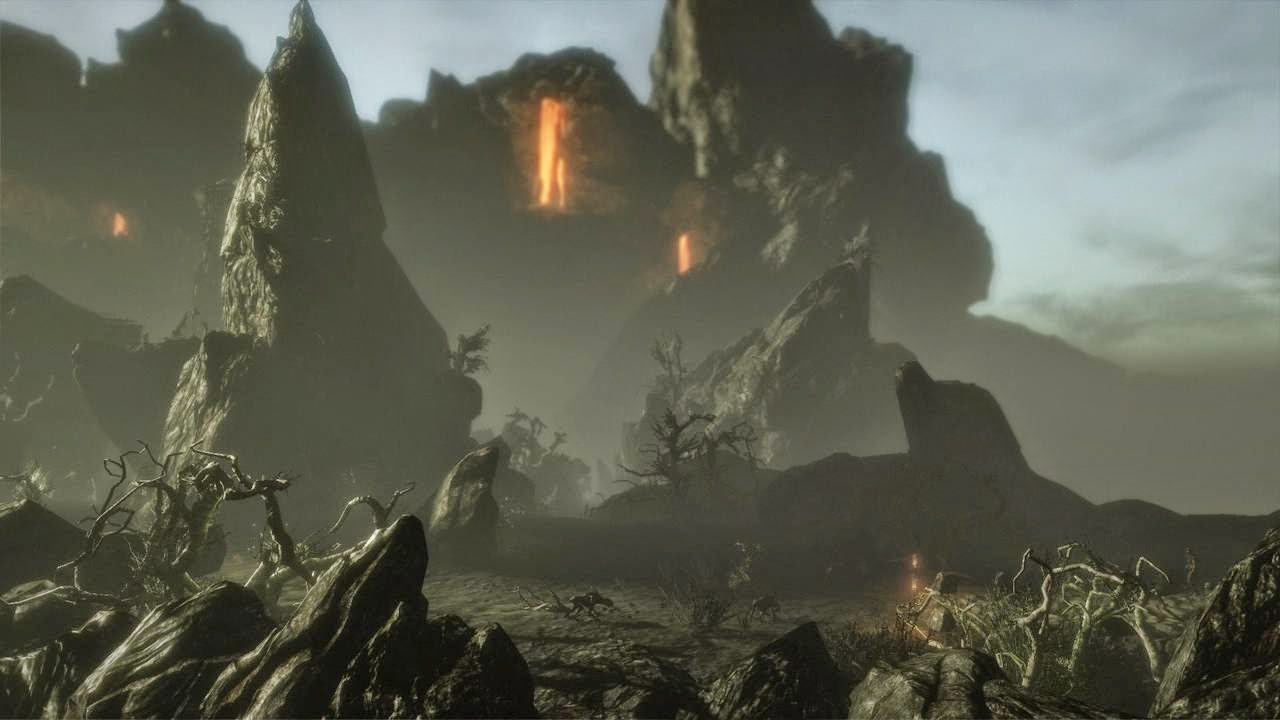
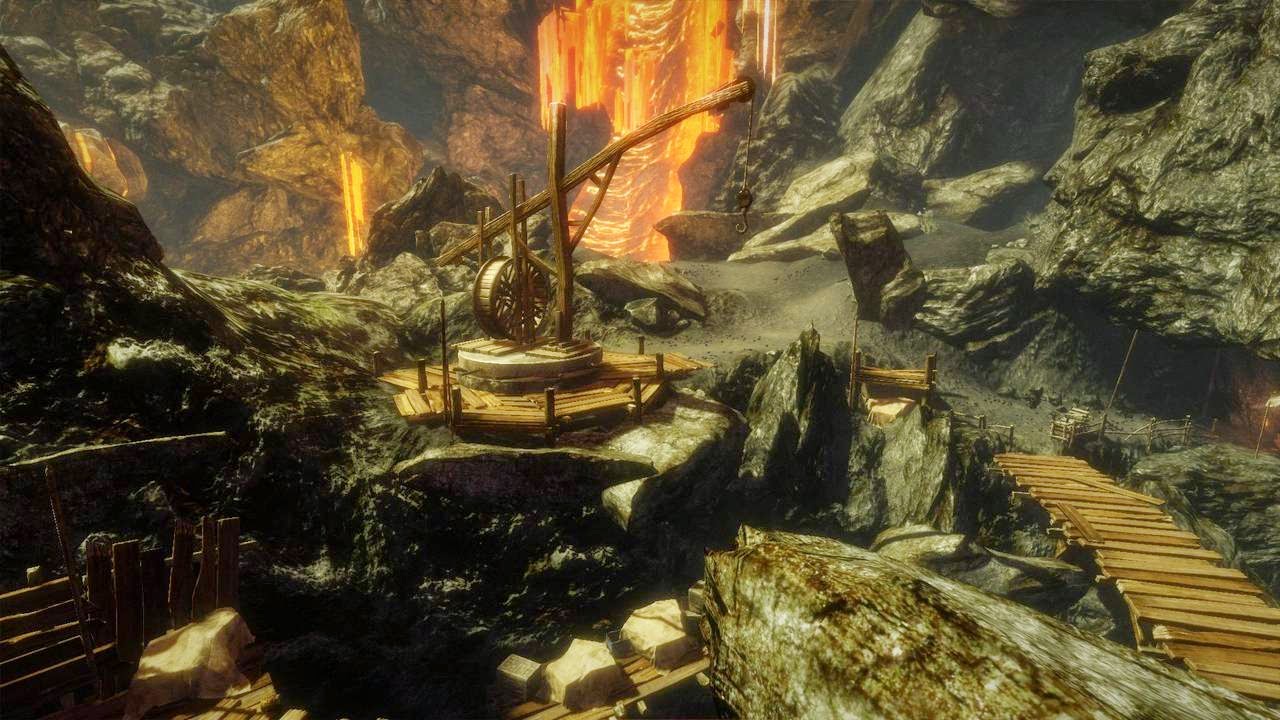
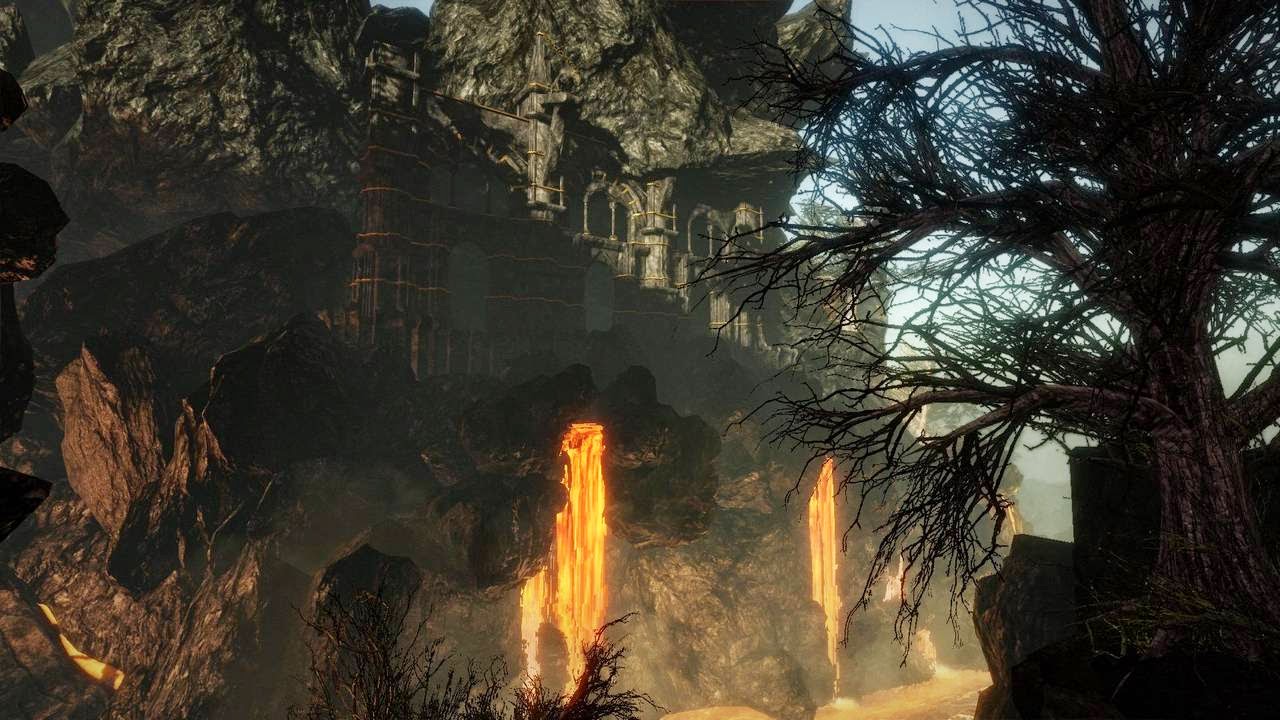
i just found this old Risen 2 thing.
this video shows the Risen 2 lightning texture and then the corresponding particle effect. the texture had 3 greyscale masks put into RGB channels.
the particle effect was bound to the hero, and was always spawned 200-300 meters away from him. the particle chose randomly, where the particles were spawned arund the hero. the sequence itself was also random. the effect was supported by light effects in the sky. and sounds. both was not neede to be in synch with the lighning, since this is also not the case in reality
in this lecture where we did everything from scratch 8used UE4 particles though) we reiterated baking in 3dsmax and also brought an animated basic mesh into the engine
i tweaked it some minutes afterward
Music : Bolt Thrower
the outcome of the lecture from november 2014 at SAE institute Cologne.
we tried to achieve some kind of a horror hallway in the unreal engine 4 from scratch.
we have a tunnel with sound from freesound.org the door blasts open,
then the lights go out and we have a levelchange inside the opened room,
and then flickering light and then another levelchange to the start
again.
we covered asset importing and processing, a bit of material shaders,
and basic blueprinting
This can be useful for any kind of leather coated grips, be it knifes or swords
The Helix itself is not suitable, since its polys are not aligned properly.
Use the Sweep modifier insted and turn off banking.. Check the video!