25.8.14

SAE Bochum - Unreal 4 lecture - Dining Room

hi, here is the result of the last lecture.
we had a basic lecture that covered every main module at its surface.
we also made 2 assets. one chair and one table, as also the room itself to cover the export process from 3dsmax and maya right into the engine. we put all the lod stages and the collisions in one file and imported it  without errors.


for the chair we didn't use any textures and for the table we used a mask to mask out the different material qualities.
unfortunately we hadn't had enough time to make the diner more realistic.
there also should be a better backdrop. looks like a diner in heaven that way haha.
we made 2 doors, one only with blueprint, and one with a matinee sequence.


7.6.14

SAE lecture: Bunker

yet another bunker for the students at SAE Cologne
we made this piece in 3 lecture days
we also made a barbed wire and the grass and then placed everything in UDK


11.5.14

Sci Fi indoor water scene in Unreal 4

my first steps in unreal 4
currently i have some layout and made some props. no finished materials though. the water shader stuff also kills me, the refraction breaks apart, when looking from above and far away.
the whole thing is inspired by this al crutchley concept


 http://conceptartworld.com/wp-content/uploads/2014/02/Al_Crutchley_Concept_Art_03.jpg


5.3.14

S4G Berlin DA206 - Flashnade Modeling and Textures

hey internet. long time no hear.
that is because i had much work besides my lectures and in the future i will reduce the amount of lectures significantly, because my job in my company is currently enough.
anyway here is the outcome of the last lecture in berlin at the school4games.
we made a flash grenade. first highpoly, then lowpoly, then mapping of lowpoly, then bake the thing in 3dsmax and then painted in mudbox.

 baked and painted version

unfortunately, the painting was done in a hurry, since we only had 20 minutes left on the second day.
we didn't even have the time to make a nice rendering of it.

baked and painted version

the holes are not painted dark and the edges are not worn out enough.
also the metals have no interesting shading, and there's lack of a matching gloss map.

baked and painted version

only the body of the nade was baked to a normalmap. the rings were not baked. 

highpoly

the whole thing is still too highpoly ~800 tris and also a 1024 texture, but we wanted to make a beautiful piece and therefore put some geometry in it.

baked and painted version


24.11.13

SAE Lecture, BIA4 1013 - Producer Level Design

we got one day for that scene, it what was nearly 100% sculpting a stone..lol
we put some trees from the UDK into the scene and then the lecture was done. in the end it was a success since i could tell some insights about environment sculpting and scene dressing. for sculpting stones try to avoid round structures at all cost get much plain structures. bitmap textures should be easy in their contents, not much medium and high noise, amplify your geometry by applying sharp light details on the edges. and broad dark shadows in the cavities.

at first we created this cheesy concept as a goal. :)
then we made this stone in mudbox


then we imported the stone into UDK and placed it in a rush..we just had 20 minutes or so for the UDK stuff. unfortunately you cannot see much of this stone in this scene but large scaled pixels. there was an environment planned that incorporated a landscape mass, groundtextures and also grassplanes and dedicated selfmade speedtrees. perhaps the next time

16.7.13

One Pic Tip: Broken Normalmaps in 3dsmax 2014

did you ever bake a normalmap in 3dsmax 2014 and there were seams, regardless what you do?
1st check if you you did everything right:
  • all uv islands have seperate smoothing groups
  • the pivots of high and low are matching
  • you reset the cage and pushed it by yourself 
  • for green channel "down" you leave the normalbump shader setting as is, for green channel "up" you turn on "flip green(y)" in the normalbump shadernode

if this all applies and the seam is still there, just restart max..it might work also for you!


"One Pic Tip": Invisible Vertecies in 3dsmax

this is a small tip from the archives.
did you ever run into invisible or super small vertecies in 3dsmax?
here is what you do:
1. try to increase/decrease vertex size in:
customize->preferences->viewports->show vertecies as dots->size
2. if this wont help, go find your computer screen resolution dialog and change the color depth to another setting and then do not accept or revert to your old setting.
this will basically reset your graphic card driver and your vertecies will be visible again!


7.6.13

Games Academy - Art 2011 - Old Locker

we just created this locker with the course art 2011 at games academy.
it was meant as a study for metal materials, where the speculars or reflections play a major role.


21.5.13

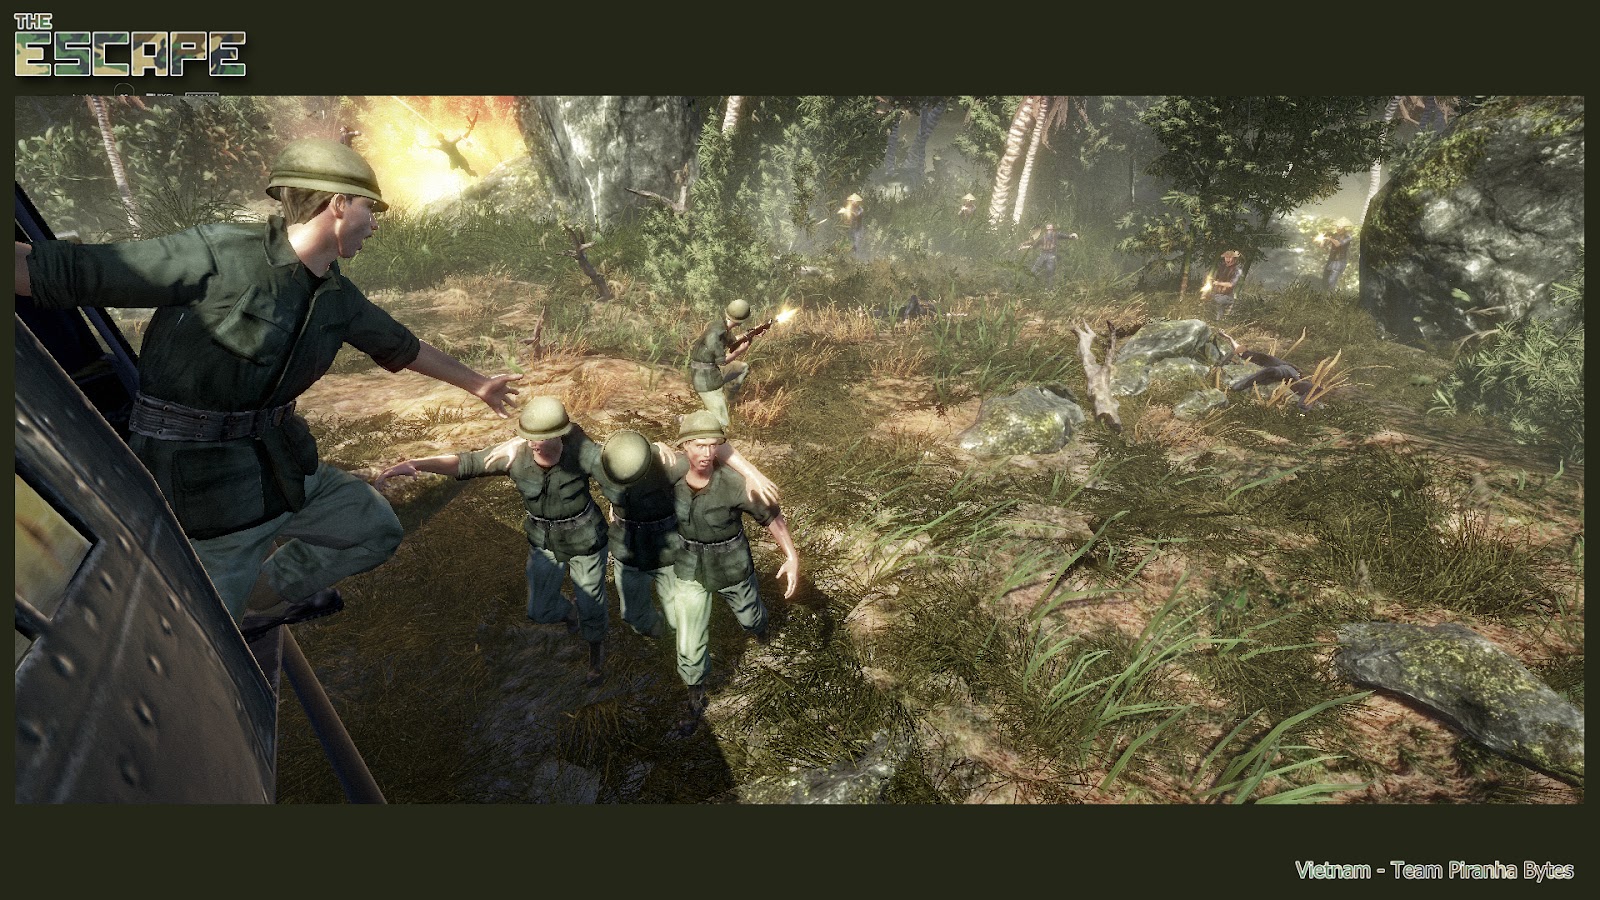
final escape challenge submission plus some props

since the challenge is done and the voting is currently going, i like to present our achievments.
pleas go an VOTE FOR US!
Team Piranha Bytes - Nam


5.4.13

Stone Sculpting at SAE Cologne

finally we had some nice stone sculpting at the SAE in Cologne.
a little mudbox session, where we sculpted and also painted and baked the stone.
baking was in 3dsmax


3.4.13

Escape Challenge Update

since our scene made some progress, i will also update the main blog page with a few pics. see the main page or the thread at polycount for the details.


16.3.13

Lecture @SAE Colone, Bunker Scene #4325

today we finished this little UDK lecture in the Art and Animation course BIA 1012.
we had two session, last week the first where we modelled the bunker. and this week, where we implemented all assets and had some speedtree goodness.
also scenedressing was taught a bit

this was the concept


8.3.13

ESCAPE Challenge entry on Polycount

hi there.
some of my colleagues and me got an entry in the current polycount escape challenge
see all the details in the thread.
here is a collage of the scene we want to make


[update]
screenz of the textures i will use for the environments


[update]
some realtime material tests in our engine


i tried to sculpt the bulges of the rock in mudbox and overlay the rest with a diffuse extracted normal. came out waaaaaay to hard though..but i did it in a rush. it needs more love, then it will turn out ok


here is the offset map of the ground. it works best, when it is very blurry


[Update]
This blogpost will get too big in the future, so now it has its own page on this blog